The exterior of a house serves a dual purpose: it creates the vital first impression that defines curb appeal and acts as the primary shield protecting your property against environmental degradation. Over time, exposure to severe weather, UV radiation, and natural landscape growth causes structural materials to age, paint to peel, and driveways to crack. Transforming an aging facade into a modern, protected home is one of the most rewarding investments a homeowner can undertake.
However, taking on a comprehensive exterior renovation can feel overwhelming. Without a structured plan, homeowners often waste money by doing work out of order—such as painting siding before removing overhanging tree branches, or laying a new driveway only to have heavy equipment crack the fresh surface. Executing a successful facelift requires a phased approach that moves strategically from lot-line clearing and hazard mitigation to hardscaping and final cosmetic refinements. By taking a systematic approach, you can protect your financial investment and ensure every stage of your renovation runs smoothly.
1. Phase 1: Site Audit and Perimeter Safety Assessment
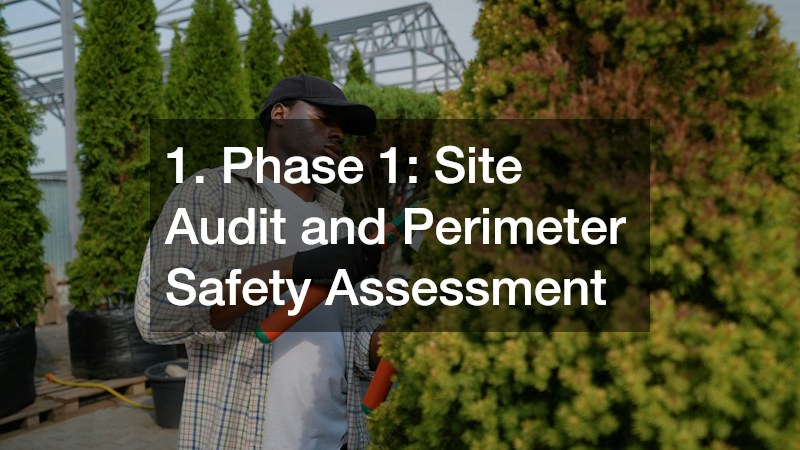
Before making cosmetic choices like paint colors or siding styles, you must conduct a thorough audit of your property’s perimeter. Preparing the surrounding site prevents physical obstructions from slowing down construction and protects your house from environmental hazards.
Performing a Thorough Site Perimeter Inspection
Walk your entire property line to identify structural vulnerabilities, drainage issues, and landscape conflicts that could jeopardize future upgrades:
-
Inspect structural clearances: Look up at your roofline, gutters, and chimney to identify overhanging branches, encroaching vines, or damp shade zones where moss thrives.
-
Evaluate ground drainage: Check how surface water flows away from foundation walls during rainstorms to ensure landscaping beds or slopes don’t trap moisture against the structure.
-
Assess site access: Identify clear pathways for construction vehicles, dumpsters, and scaffolding to operate without damaging existing features or soft turf.
Clearing Subterranean Obstacles and Below-Grade Roots
Tree roots growing near your home can uplift walkways, crack concrete footings, and intrude into underground plumbing systems. Before installing new hardscaping or digging post holes, arrange for a local tree service to evaluate root systems near your house. Clearing dead trees and dangerous root formations early ensures that your home’s sub-grade environment remains stable throughout the renovation.
Removing large trees leaves behind hidden underground decay that settles over time, creating dangerous ground depressions. Investing in professional stump grinding eliminates subterranean root masses completely, leaving a flat, stable surface for future paving, sod installation, or exterior hardscaping.
2. Phase 2: Canopy Defense and Protecting the Structural Envelope
Once ground hazards are assessed, turn your attention upward to the canopy surrounding your home. Overhanging limbs pose a constant threat to roofs, gutters, and siding, dropping organic debris and trapping damaging moisture against building surfaces.
Managing Tree Canopies Above the Roofline
Uncontrolled tree growth can ruin fresh exterior finishes within a single season through dripping sap, falling acorns, and constant abrasion against siding panels:
-
Eliminate roof contact: Trim branches back to maintain at least ten feet of clearance between mature tree canopies and your roof shingles.
-
Increase air circulation: Thinning dense tree crowns allows sunlight and air movement to reach siding and roof surfaces, preventing rot, algae, and mildew growth.
-
Remove deadwood safely: Cut away decaying branches before high winds or winter storms drop them onto your house or outdoor living spaces.
Hiring skilled tree trimmers ensures that large branches are cut using proper drop-zone rigging, preventing limbs from crashing down onto your home’s roof, deck, or structural framing.
Severe storms can suddenly turn decaying trees into immediate hazards during an ongoing renovation. Having access to emergency tree removal ensures that dangerous or fallen timber can be safely cleared from your workspace without delaying contractor schedules or risking further structural damage.
3. Phase 3: Long-Term Tree Health and Boundary Management
A complete exterior makeover should accentuate natural surroundings rather than destroy them. Mature, healthy shade trees add substantial beauty and monetary value to a property when maintained correctly.
Balancing Shade Benefits with Home Preservation
Shade trees lower cooling bills during hot summers, but unmanaged trees can damage home exteriors. Finding the right balance requires ongoing management:
-
Crown raising: Prune lower tree branches to elevate the bottom canopy line, opening up views of your refreshed facade from the street.
-
Root barrier installation: Install vertical root barriers along fresh driveways and walkways to direct root growth down and away from paved surfaces.
-
Soil nutrition and aeration: De-compact soil around mature trees after heavy equipment has passed through your yard to keep root systems healthy.
Partnering with a professional tree care company helps preserve prized specimen trees while protecting your new siding and roofing from biological degradation.
When dealing with hollow or leaning trees on property boundaries, use a certified tree removal service to dismantle hazardous trees section-by-section using controlled rigging, ensuring no damage occurs to nearby fencing or neighboring structures.
4. Phase 4: Structural Envelope Upgrades and Insulation
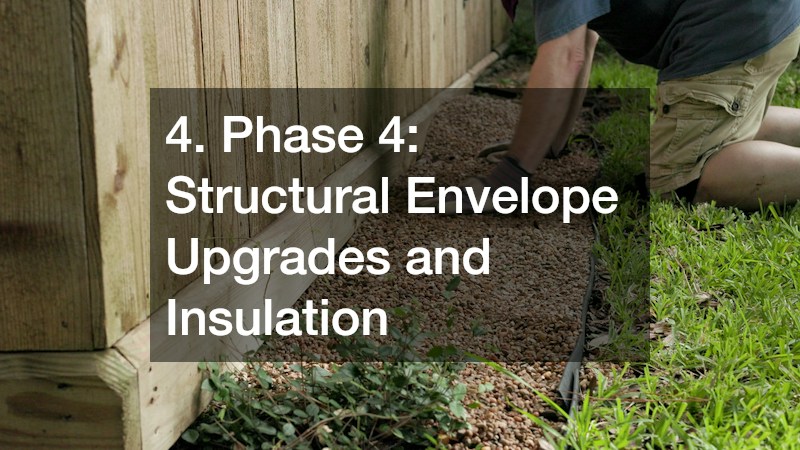
With the surrounding landscape cleared and safe, focus turns directly to the building envelope. Upgrading the roof, siding, and windows improves energy efficiency while dramatically altering your home’s appearance.
Modernizing Siding and Insulation
Old siding allows drafts to penetrate interior walls and lets moisture creep into wooden framing. Replacing aged exterior cladding offers an opportunity to add modern thermal barriers:
-
Continuous exterior insulation: Install rigid foam insulation underneath fresh siding to reduce thermal bridging through wall studs.
-
House wrap installation: Apply breathable weather-resistant barriers beneath siding panels to shed liquid water while allowing indoor moisture vapor to escape.
-
Choosing low-maintenance cladding: Modern fiber-cement, engineered wood, and high-grade insulated vinyl deliver long-lasting durability without requiring frequent repainting.
Upgrading Windows and Exterior Trim
Windows define the character of a house while maintaining its thermal seal. Replacing leaky single-pane windows with modern double- or triple-pane units cuts energy bills and noise pollution. Framing those windows with wide trim boards creates distinct architectural lines that instantly modernize an older facade.
5. Phase 5: Architectural Accents and Entryway Design
The front entryway is the natural focal point of any home exterior. Transforming a dated front porch or plain doorway into an inviting entrance raises curb appeal faster than almost any other upgrade.
Enhancing Front Porches and Doors
A front door change offers high return on investment while setting the aesthetic tone for the entire property:
-
Upgrade door hardware: Replace worn, tarnished locksets with modern deadbolts and handles in dark bronze, matte black, or brushed brass.
-
Incorporate glass accents: Choose front doors featuring decorative side-lites or transom windows to flood interior entry foyers with natural sunlight.
-
Portico and porch additions: Constructing a small covered gabled portico protects visitors from rain while adding architectural depth to flat home fronts.
Lighting and House Number Updates
Installing modern LED lighting fixtures along entryways, garage doors, and front steps increases nighttime safety and highlights new architectural details. Updating old house numbers to clean, highly visible modern typography gives your entrance a polished, contemporary feel.
6. Phase 6: Revamping Driveways, Walkways, and Hardscapes
Once structural framing and siding updates are complete, turn your attention to the ground surfaces. A cracked, weed-infested driveway detracts from fresh siding and paint, making hardscape upgrades essential for a complete facelift.
Evaluating Sub-Grade Stability Before Paving
Pouring new asphalt or concrete over soft, shifting ground guarantees early cracking and failure. Proper hardscaping requires thorough sub-grade preparation:
-
Excavate degraded base material: Remove failing asphalt, loose gravel, and soft topsoil down to a stable sub-grade soil foundation.
-
Install crushed stone bases: Lay a six- to eight-inch base layer of compacted gravel to ensure load support and prevent winter frost heaving.
-
Establish proper slope drainage: Grade hardscape surfaces so water flows away from garage doors and house foundations at a minimum slope of one-quarter inch per foot.
Hiring an experienced paving company ensures your new driveway is properly graded, compacted, and paved to handle heavy vehicle traffic for decades without settling.
Working with experienced local paving services guarantees that regional soil conditions, high water tables, and freeze-thaw cycles are factored directly into your driveway construction.
7. Phase 7: Driveway Maintenance, Protection, and Finishing
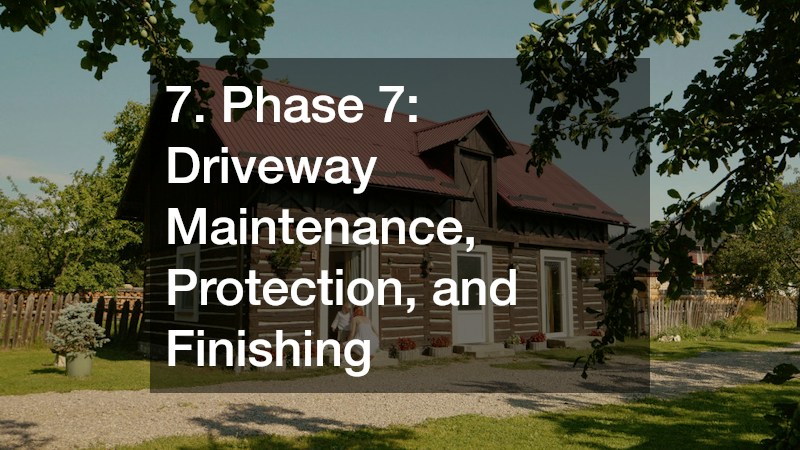
A fresh asphalt driveway represents a major financial investment. Protecting that investment against automotive fluids, UV breakdown, and winter water penetration requires ongoing maintenance.
Preserving Fresh Asphalt Surfaces
Asphalt is a flexible petroleum-based material that requires proper curing and routine surface protection to retain its dark finish and structural strength:
-
Allow initial curing time: Keep heavy vehicles off fresh asphalt for several days after installation to prevent tire indentation during warm weather.
-
Fill surface cracks promptly: Treat developing hairline cracks immediately using hot-pour rubberized filler before water can seep into the base aggregate beneath.
-
Prevent chemical damage: Clean up spilled gasoline, engine oil, and power steering fluid right away to prevent petroleum solvents from dissolving the asphalt binder.
Applying high-grade driveway sealers every two to three years creates a water-resistant barrier that protects against UV oxidation and keeps asphalt looking fresh and uniform.
Before applying sealants or laying final boundary landscaping, hire a dependable tree removal company to clear out remaining brush, dead roots, or invasive saplings along the edges of your property line.
8. Phase 8: Exterior Paint, Stain, and Color Palette Selection
Color ties all elements of an exterior makeover together. A well-chosen color palette highlights architectural features, hides structural flaws, and unifies disparate materials into a cohesive visual profile.
Strategic Color Selection Principles
Choosing exterior paint colors involves balancing personal taste with architectural style and neighborhood context:
-
The three-color rule: Use a dominant base color for body siding, a contrasting accent color for shutters and the front door, and a clean trim color for window frames and fascia.
-
Account for natural light: Exterior paint colors look significantly lighter outdoors under direct sunlight than they do on small interior paint swatches.
-
Contrast with landscaping: Select siding tones that contrast naturally with surrounding foliage, ensuring green trees and garden beds frame the house rather than blending into it.
Proper Substrate Preparation for Painting
Paint performance relies heavily on surface prep. Scrape away flaking paint, pressure wash chalky surfaces, fill wood gouges, and apply high-adhesion exterior primers before applying topcoats to ensure paint lasts for years without peeling.
9. Phase 9: Landscaping, Softscaping, and Lighting Integration
With structural work, hardscaping, and painting completed, softscaping fills out the perimeter of your home, bringing fresh color and organic texture to the new architecture.
Designing Low-Maintenance Foundation Beds
Well-planned garden beds anchor a home to its site without trapping moisture against exterior walls:
-
Maintain air gaps: Plant foundation shrubs at least two to three feet away from siding to allow air flow and preserve access for future maintenance.
-
Layer plant heights: Place taller evergreen shrubs near corner foundations and step down to lower flowering perennials and groundcovers near entry walkways.
-
Use inorganic or dark mulches: Apply bark mulch or dark river stone to suppress weeds, retain soil moisture, and contrast cleanly against green lawn edges.
Low-Voltage Landscape Lighting
Adding low-voltage LED accent lighting brings your renovated exterior to life after dark. Place subtle uplights at the base of specimen trees, run path lights along entry walkways, and install soft accent lights to highlight textured stone or siding facades.
10. Phase 10: Long-Term Maintenance and Inspection Schedules
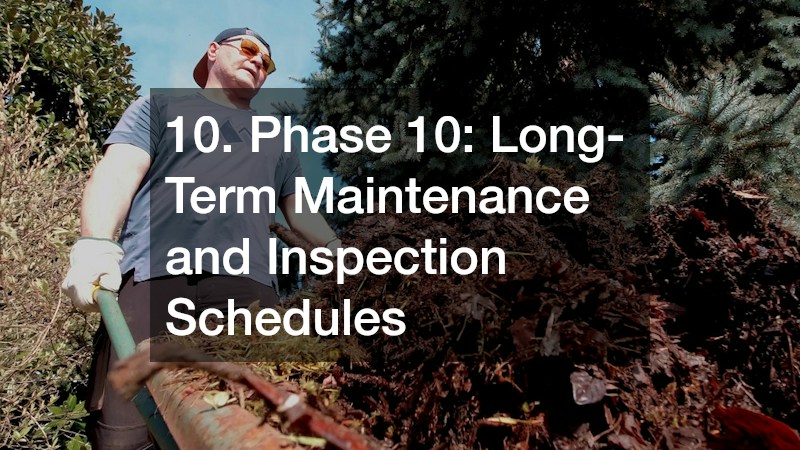
Sustaining the value of a complete exterior makeover requires regular seasonal care. Establishing a routine maintenance schedule catches minor wear before it turns into major repair bills.
Creating a Seasonal Maintenance Plan
Organize exterior home care into clear seasonal tasks to keep your property looking its best year-round:
-
Spring Inspection: Check roof flashings for winter damage, clear downspout drains, and inspect siding for cracking or paint peeling.
-
Summer Care: Wash away dirt and pollen from siding, inspect driveway surfaces for new cracks, and prune fast-growing branches back from walls.
-
Autumn Prep: Clear leaves from gutters, service tree canopies before winter storms arrive, and drain exterior hose bibs before freezing temperatures hit.
-
Winter Monitoring: Check attic spaces for ice damming, clear snow from low-hanging branches, and use safe, non-corrosive ice melts on hardscapes.
By breaking your project into distinct phases, using durable materials, and maintaining your site season after season, you can enjoy a safe, energy-efficient, and visually striking home exterior for decades to come.
Renovating an aging home exterior is a journey that yields tremendous returns in comfort, protection, and property value. By pacing your project through logical stages—starting with site clearance and canopy safety before moving on to structural siding, hardscaping, and final cosmetic accents—you avoid common construction pitfalls and maximize your budget. An exterior makeover does more than transform your home’s appearance; it secures your structural investment for years to come, giving you a beautiful, dependable property you can be proud of every time you pull into the driveway.